The renovation of the apartment took seven months, but it was definitely worth it. The end result is a spacious and open home that also has room for the family’s numerous classic chairs. Take a look at these renovation veterans’ insightful tips!

Residents:
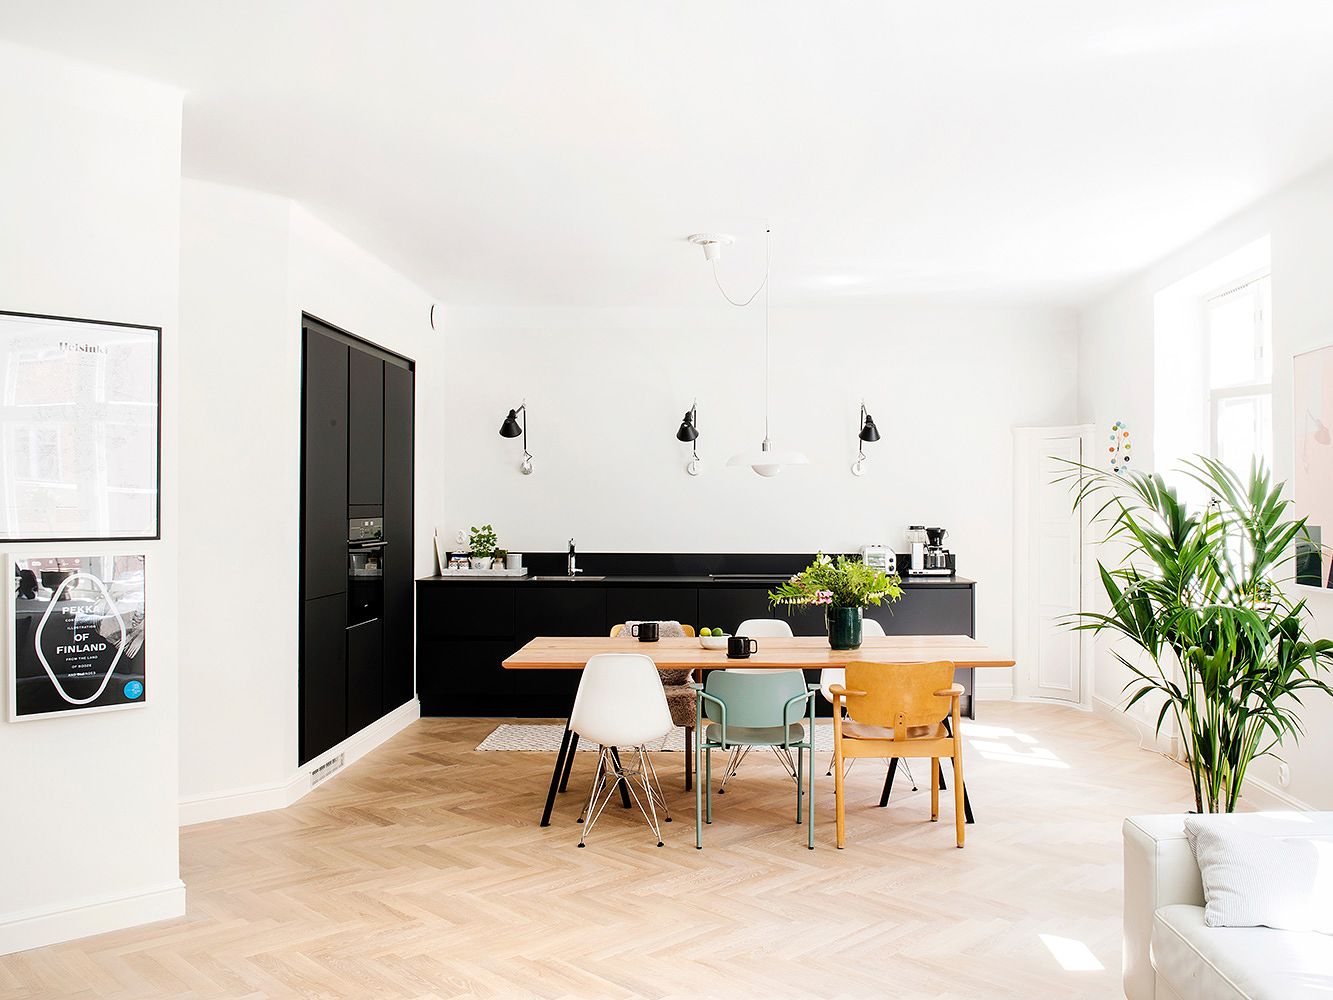
Marketing professionals Minna and Janne and their two daughters. The home is a 115-square meter apartment in a 1923 building designed by architect W.G. Palmqvist in Helsinki’s Etu-Töölö. The family’s principle is: “Wherever your eye comes to rest in your home it should see something pleasant.”

This is what we have learned from our renovations:
1. Design a functional floor plan
Do not settle for an impractical floor plan. Instead, think about what your needs are. Utilize the architect’s skill to organize the house in the best possible way. As a bonus, you might get some ingenious storage solutions. Our new apartment was very maze-like with seven rooms and one small bathroom. We thought up a new floor plan and the drawings were made by Jouko Keränen. We got four rooms, a kitchen and a large bathroom. The street-side rooms were combined into one large living room that also includes the kitchen. The bedrooms were organized in a row on the yard side of the building leaving a large hallway between them and the living room. The bathroom and toilet were placed at the end of the hall.

2. Save time by hiring help
Our renovation took seven months. The first weeks were spent taking down walls and carrying debris. We did this work for three months and the last few months were spent on the home’s surfaces and installation work. The renovation can be significantly faster if you hire some help. The apartment was our third renovation and, to date, our most laborious. We only hired help for the HVAC, electrical and tile work and the bathroom design was done by the interior architect firm Fyra. When all is said and done, some additional hands would have been useful in carrying the massive 20 000 kilos of demolition debris. The time we would have saved could instead have been spent restoring details such as refinishing old panel doors. Out of the seven months, the restoration of the doors almost ate up an entire month.

3. Prepare a detailed schedule
If you plan on doing a large part of the renovation yourself plan all the work phases in detail. Excel spreadsheets are a useful tool. All jobs that deal with ventilation, water or electricity require, by law, that you turn to a professional. Update your knowledge by asking the professionals about the latest methods and practices. These professionals’ knowhow about the use of materials is extremely useful information that can help you keep on schedule and achieve a successful end result.
“Each contractor has his or her own schedule and work practices.”
Each contractor has his or her own schedule and work practices. In order for the project to progress inform each worker about the schedule. Plan for potential errors with deliveries or delays, as they will naturally affect your schedule. We, for example, first received the wrong hardwood floor. We ended up anxiously waiting for the redelivery as we had scheduled to install the floor during our three week summer holiday. Luckily the right floor was delivered during that window and we were able to complete the installation of the floor before the end of our holidays.

4. Comparing prices saves you money
Take the time to compare different materials. Be ready to change your plans if you come across a batch of heavily discounted products or an unbeatable offer. You may save thousands of euros if you order your household appliances online from the many shops in Europe. This applies to purchasing tiles from various manufacturers as well as buying bathroom fittings on sale.
“Take the time to compare different materials.”
We found practical bathroom fitting from Laattapiste’s store opening sale and the wall tiles were from another shop’s discount days. The floor was bought from Estonia after our friend tipped us off about the best quality-price ratio. Before buying we were even able to get samples of different floors from the shop.
5. Preserve original features
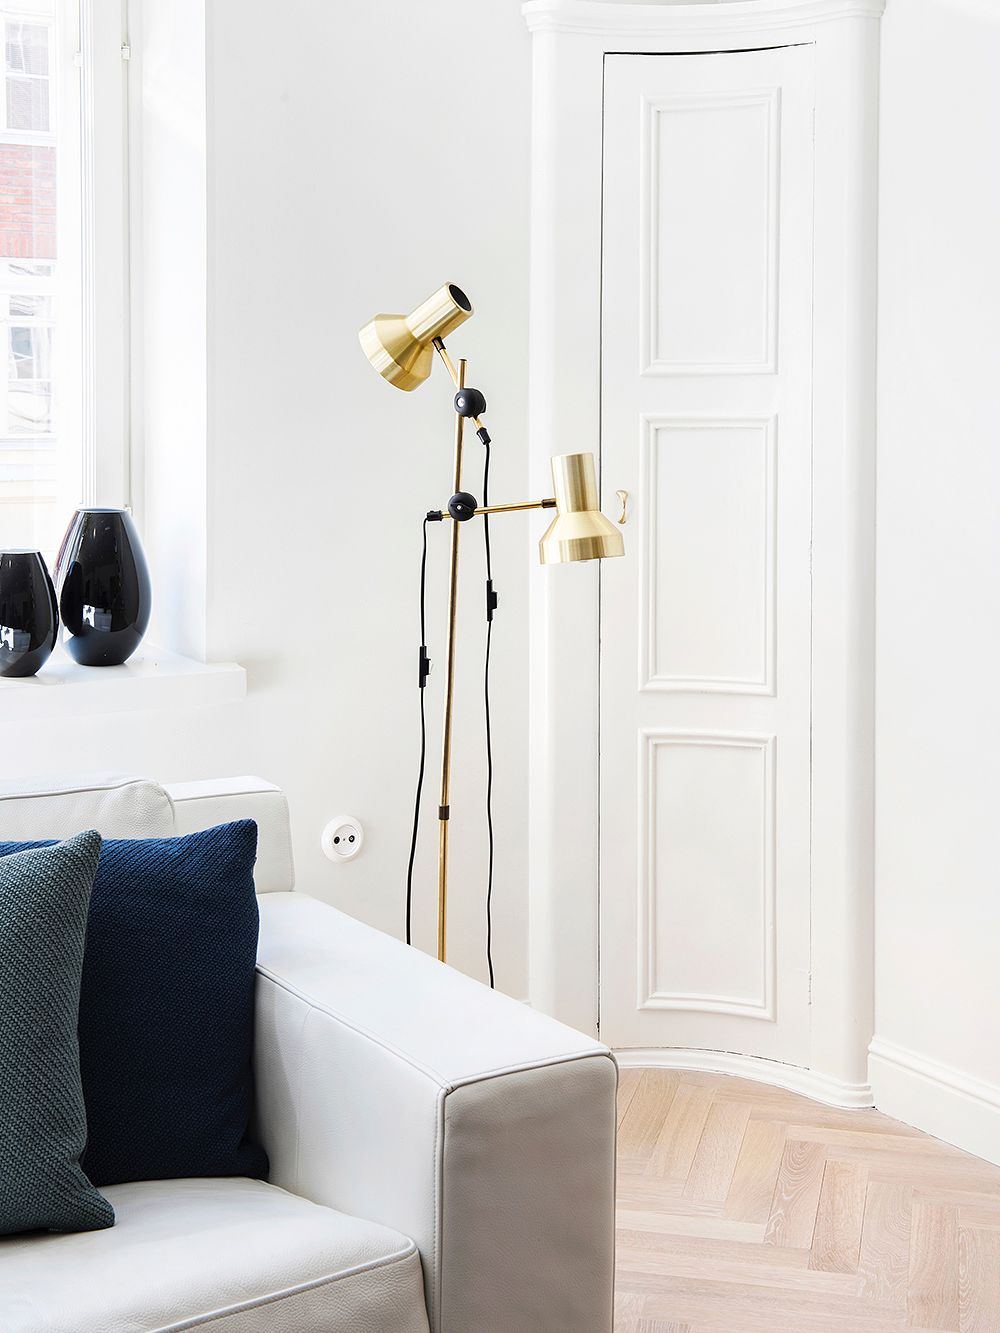
Respect the apartment’s original details. We wanted to preserve the 1920’s building’s original ceiling decorations or rosettes even though brand new plaster versions are readily available. This gave the ceiling in each room a polished look. We also removed the plywood from the old panel doors that was installed by the previous resident and restored and painted the doors. A professional replaced the wooden windowsills with beautiful ledges.
6. The right work sequence will yield a beautiful result
Do not cheat in the work phases. When you sit down on the sofa your eye will always pick up any shortcuts. For example, do not leave the installation of the skirting boards as the last project. When you are installing skirting, especially with longer pieces, it is easy to scratch the walls. When the walls are just covered with primer it is easier to fix and even out any bumps or scratches.
“Do not leave the installation of the skirting boards as the last project.”
Finish the painting around the windows and walls only once all the sawing and other building work is complete. This way you can get a final result without having to spend time on details.

7. Focus on the foyer
A family with kids needs plenty of space in the entrance hall. Make sure you account for enough room in the entrance so that it is easy to put on and take off your outdoor clothes. You will also need enough storage for jackets and other clothing. Our 1920’s apartment had two entrances, one for the owner and one for the maid. We removed the wall between the foyer and hall in order to further open up the space. The space for the closet was taken from the former maid’s entrance and its adjacent closet. We were able to fit a shoe closet next to the new closet. We hid these behind the old panel doors.
DIY restoration of vintage chairs
Minna and Janne collect old chairs. They buy the chairs online and restore them themselves. You can get one good as new chair out of two chairs that are in bad shape by simply sanding, gluing and painting if you put the effort into the fundamentals.
1. The chairs’ loose parts are cleaned and re-glued. Use wood glue and clamps.
2. Old scraps of paint can be removed from the furniture using specialty products or a steel trowel and steel wool. Rough sandpaper is another good alternative.
3. Large scratches can, if you want, be filled with a wood fiber based putty. This way the fixed part does not show through the paint or stain.
4. Sand the chair with care. Of the prep work, sanding is the most important. Make sure to budget enough time for this.
5. Start painting with a primer paint designed for furniture. Use two layers of furniture paint to make sure you get a beautiful surface. Take care not to drip. This is especially important during the first coat of paint and you have to make sure to be careful when fixing and errors. Let each coat of paint dry properly.
Text: Riikka Siusluoto Pictures: Vuokko Salo
The article was originally published in Avotakka.